Ground-up Garage Door Installation: A Comprehensive Guide
Are you planning to install a new garage door, but not sure where to start? Installing a garage door from scratch, also known as ground-up garage door installation, can be a daunting task for even the most experienced DIY enthusiasts. However, with the right guidance and tools, you can successfully install a new garage door and add value to your home.
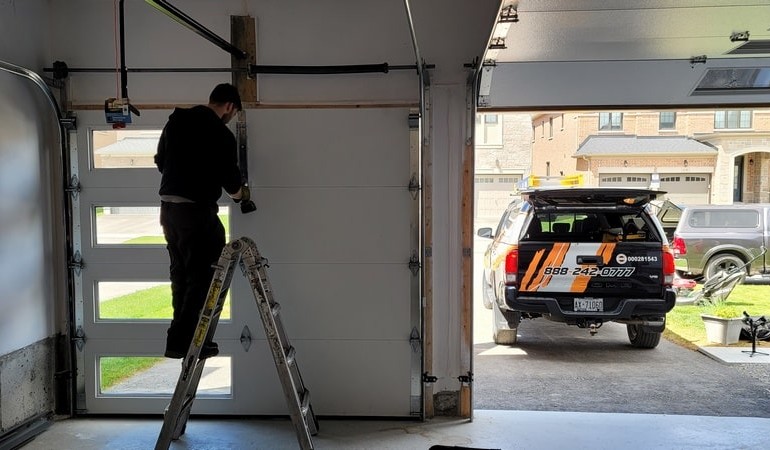
What is Ground-up Garage Door Installation?
Ground-up garage door installation refers to the process of installing a new garage door from the ground up, including the door frame, tracks, rollers, and other components. This type of installation requires careful planning, precise measurements, and attention to detail to ensure a smooth and secure installation process.
Tools and Materials Needed
- Garage door panels
- Cables
- Brackets
- Rollers
- Helping hand
- Measuring tape
- Pliers
- Screwdriver
- Drill
Step-by-Step Guide to Ground-up Garage Door Installation
Installing a ground-up garage door requires several steps, which are outlined below:
- Prepare the Site: Clear the area around the garage door of any debris or obstructions. Measure the width and height of the door opening to ensure accurate measurements.
- Install the Door Frame: Assemble the door frame using the provided hardware and attach it to the surrounding structure using screws or nails.
- Install the Tracks and Rollers: Attach the tracks to the door frame and rollers to the tracks. Ensure proper alignment and secure the components using screws or bolts.
- Install the Door Panels: Assemble the door panels using the provided hardware and attach them to the tracks using screws or bolts.
- Install the Cables and Pulleys: Attach the cables to the door panels and pulleys to the tracks. Ensure proper tension and secure the components using screws or bolts.
- Test the Door: Open and close the door several times to ensure proper operation and make any necessary adjustments.


")


 - wikiHow Life")


