Unlock a Safer Internet Experience with G Router Parental Control Setup
As a parent, managing your family's internet usage can be a daunting task, especially with the increasing risk of online threats and inappropriate content. The good news is that you can take control of your family's online experience by setting up parental controls on your G router. In this article, we'll guide you through a step-by-step process to configure parental controls on your G router and keep your family safe online.
Why Router-Level Parental Controls Beat Device Apps
Router-level parental controls offer a more comprehensive solution compared to device-specific apps. With a router-level solution, you can control internet access for all devices connected to your network, including those that don't have parental control software installed. This ensures that your children can't bypass restrictions by switching to a different device or by using a friend's device.
Step-by-Step G Router Parental Control Setup
To get started, you'll need to access your G router's settings through a web browser. The exact steps may vary depending on your router model, but here's a general guide to help you set up parental controls:
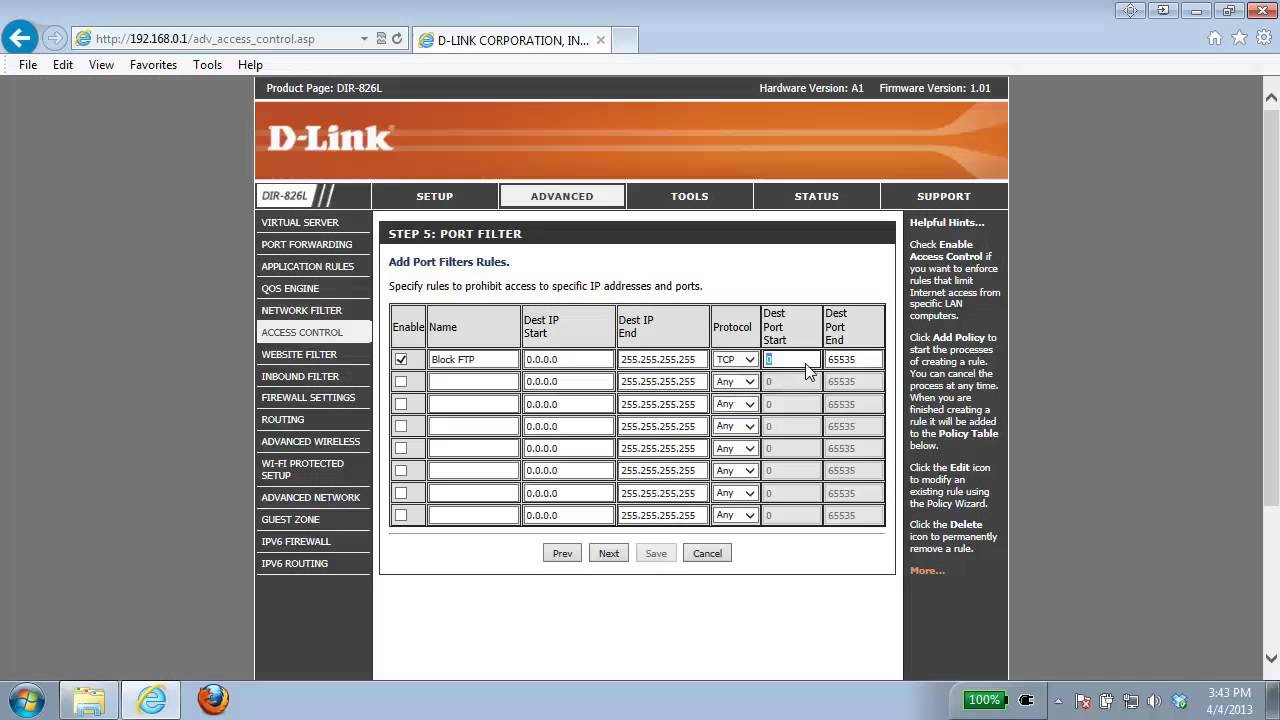
- Open a web browser and type the IP address of your G router in the address bar. The default IP address is usually 192.168.0.1 or 192.168.1.1.
- Login to your router using the admin username and password. You can find these details on the underside of your router or in the user manual.
- Navigate to the parental control section of your router's settings. This is usually found under the "Advanced Settings" or "Parental Controls" tab.
- Follow the on-screen instructions to create a new profile for your child. You'll need to enter their name, age, and the devices they'll be using.
- Configure the parental control settings according to your preferences, including setting time limits, filtering content, and scheduling internet access.
 | Block Sites ...")


")
- 3x1G Ports, Easy Setup ...")
![[Wireless Router] How to set up Family (Parental Controls) via ... - ASUS](https://www.mbreviews.com/wp-content/uploads/2019/08/parental-controls-asus-6.jpg "[Wireless Router] How to set up Family (Parental Controls) via ... - ASUS")


![[Wireless Router] How to set up Parental Controls? (WebGUI)](https://impulsec.com/wp-content/uploads/2025/01/v2-okwwf-q9nv5.jpg "[Wireless Router] How to set up Parental Controls? (WebGUI)")
