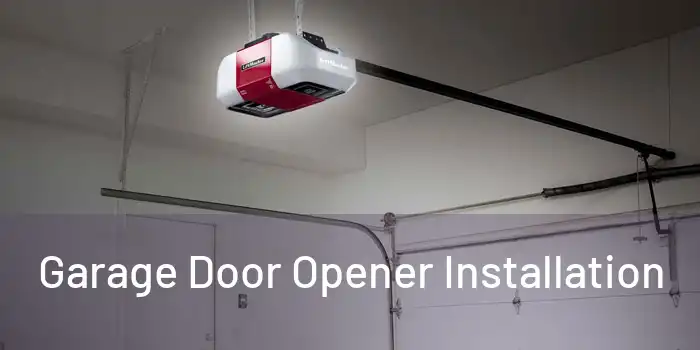
Automatic Garage Door Opener Installation: A Comprehensive Guide
Are you tired of struggling with heavy garage doors, especially during inclement weather? An automatic garage door opener can bring convenience, safety, and a modern touch to your home. In this article, we will explore the process of installing an automatic garage door opener, including the necessary tools, wiring, sensors, and testing tips.
Choosing the Right Automatic Garage Door Opener
Before starting the installation process, it's essential to choose the right automatic garage door opener for your home. Consider the following factors:
- Type of garage door: Torsion springs, extension springs, or rollers
- Door size and weight
Tools and Materials Needed
To ensure a smooth and safe installation process, gather the following tools and materials:
- A new garage door opener
Step-by-Step Installation Guide
Follow these steps to install an automatic garage door opener:
- Disconnect the power to the garage door opener
- Remove the old garage door opener (if applicable)
- Install the new garage door opener, following the manufacturer's instructions
- Connect the wiring and electrical components
- Mount the safety sensors and test them
- Program the remote control and test the system
Safety Precautions and Maintenance
Remember to follow safety precautions when working with heavy garage doors and electrical components:


